Organizing Blog, Tips, Tricks, and Ideas
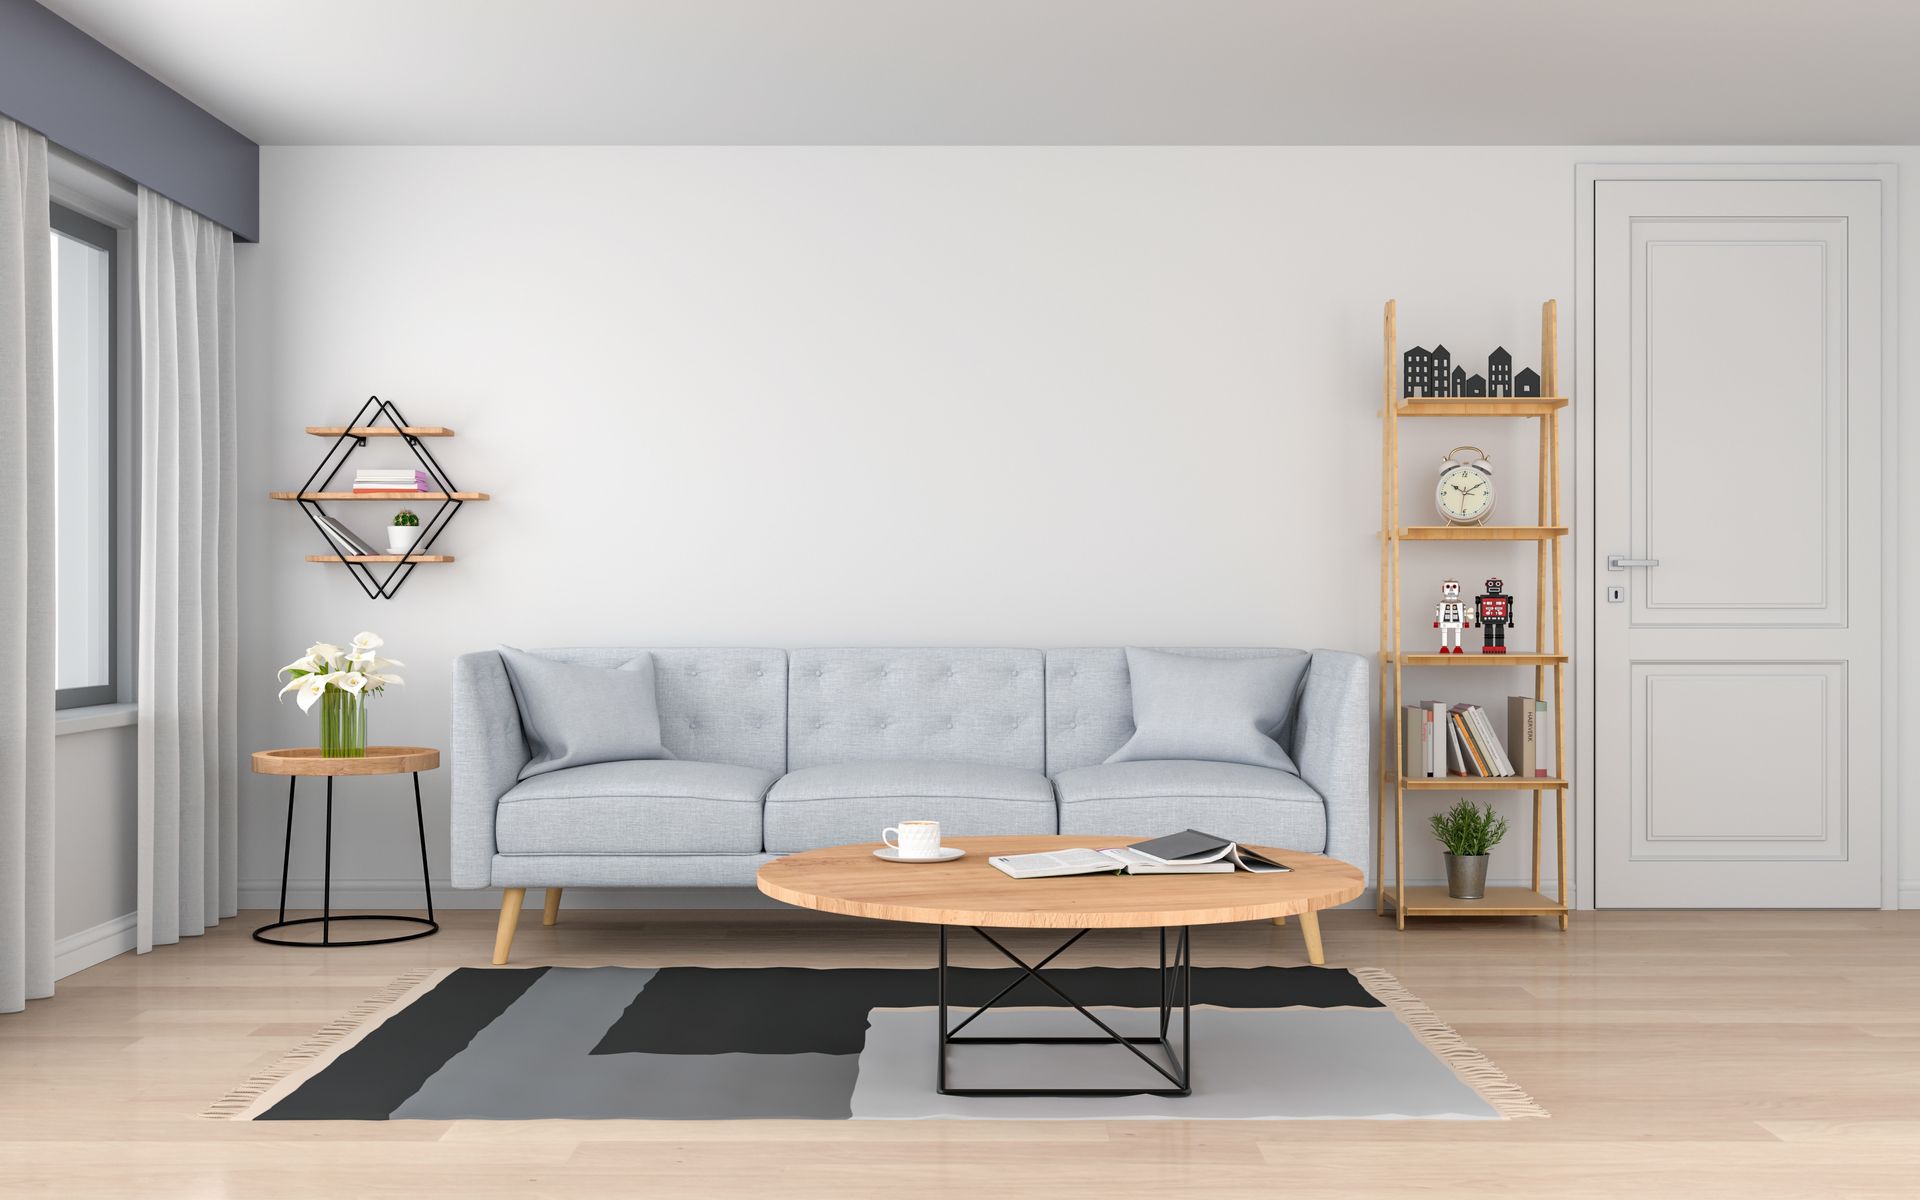
A Fresh Start for Your Home Spring is a season of renewal. As flowers bloom and the days grow longer, it’s the perfect time to embrace new beginnings—especially when it comes to getting organized. Whether you want to declutter your home, refresh your space, or prepare for a move, spring offers the ideal opportunity to start fresh. Why Spring is the Perfect Time to Get Organized 1. Out with the Old, In with the New Spring cleaning is a long-standing tradition for a reason. After months of being indoors during the colder seasons, our homes can accumulate clutter and unnecessary items. Now is the time to reassess what you need, donate what you don’t, and create a more functional, stress-free space. 2. Boost Energy & Productivity A cluttered home can lead to a cluttered mind. Organizing your home can reduce stress, improve focus, and boost overall productivity. With the motivation that comes from fresh spring air and natural light, you’ll find it easier to tackle those long-overdue projects. 3. A Seamless Transition for Seasonal Changes Spring is the perfect time to switch out your winter wardrobe, store holiday decorations, and make room for lighter, brighter decor. Organizing now ensures that everything is in its proper place, making transitions between seasons effortless. 4. Preparing for Life Changes For many, spring signals a time of transition—whether it’s moving to a new home, preparing for a growing family, or simply embracing a new chapter. Getting organized can help make these transitions smoother and less overwhelming. 5. Creating a Home You Love Your home should be a place of comfort and joy. When everything has a designated space, and your surroundings feel clean and organized, you’ll enjoy a sense of peace and relaxation that enhances your everyday life. Ready to Reimagine Your Home? If you’re feeling overwhelmed by clutter or need guidance in reorganizing your home, Home Reimagined is here to help. Our expert organization will transform your space, making it more functional, stylish, and stress-free. Spring is the season of new beginnings—why not start with your home? Contact us today and take the first step toward a beautifully organized space! Let’s embrace the season of renewal and reimagine your home together! 📞 Contact us today to get started!
Picture walking into your home after a long day to find everything in its place, each item purposefully arranged to create a sense of calm and order. A home organizer can transform your living space into a haven of tranquility, where chaos is replaced by harmony. But how exactly can this transformation take place, and what benefits can it bring to your daily life? Let’s explore the ways in which a home organizer can simplify your routines and alleviate the stress that comes with a cluttered environment.
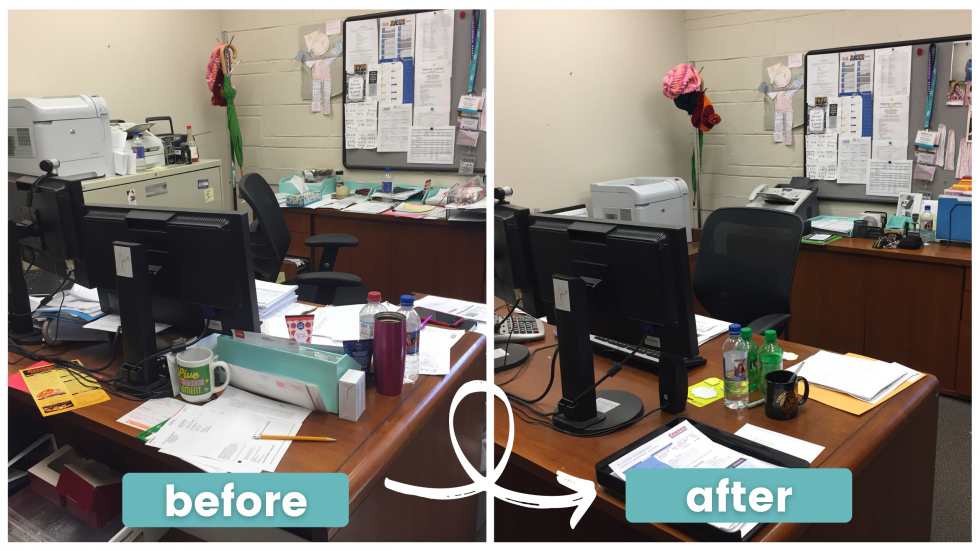
Imagine your office space as a serene lake, where each item is a ripple disrupting the calm surface. To ensure sustained organization success, you must cultivate habits that nurture this tranquility. From setting clear goals to fostering collaboration, each step plays a crucial role. But what happens when the winds of change start to blow, challenging your meticulously arranged system? Find out how to fortify your office organization strategies to weather any storm and emerge stronger on the other side.

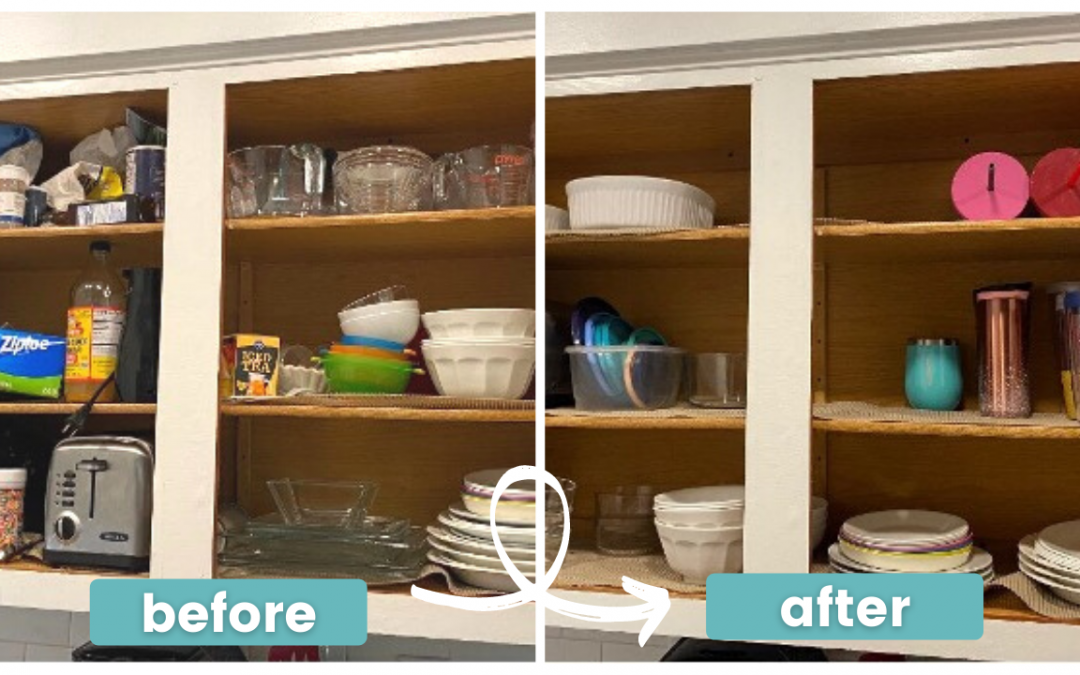
Does your home look tidy… until you open a closet, cabinet, or drawer only to be greeted by an avalanche of clutter? It’s easy for clutter to accumulate behind closed doors, out of sight but not out of mind. Here is a simple and specific decluttering checklist where you can tackle 30 smaller organizing projects, most in 30 minutes or less! In a month, your home could be less cluttered and more organized. Imagine the feeling of being productive and satisfaction when you finish the space and can check it off as DONE!
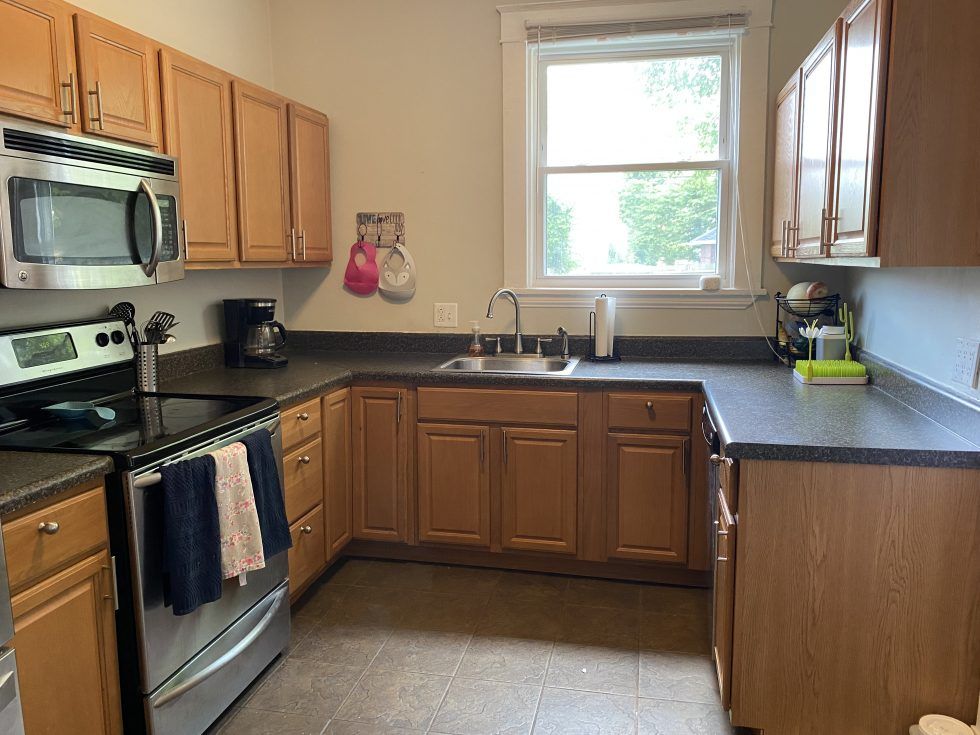
In the realm of culinary arts, the kitchen serves as the epicenter of creativity, experimentation, and passion. However, the journey from raw ingredients to a delectable masterpiece is greatly influenced by the organization of the cooking space. The art of cooking is a symphony of flavors and techniques, and a well-organized kitchen lays the foundation for a seamless and enjoyable cooking experience. In this blog, we delve into the reasons why a well-organized kitchen is crucial for enhancing your culinary endeavors, and how professional organizing services, such as those offered by Home Reimagined, can make a significant difference.
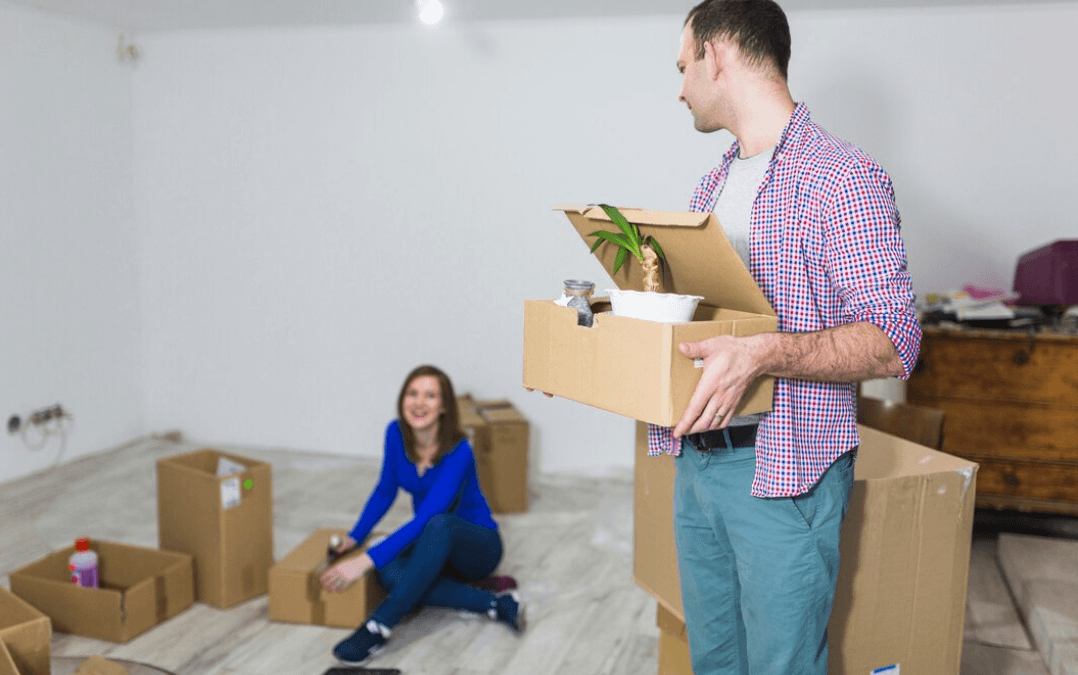
Moving to a new home is undoubtedly an exciting chapter in one’s life. However, the process of relocation can often be overwhelming, with the myriad of tasks involved in packing, transporting, and settling into a new space. Among these, unpacking is a significant aspect that often gets overlooked, leading to chaos and stress. This is where investing in professional unpacking services, such as those offered by Home Reimagined, can make a world of difference. In this blog, we will explore the importance of unpacking services , with a focus on kitchen organization, home organization, and the benefits of hiring a professional organizer.
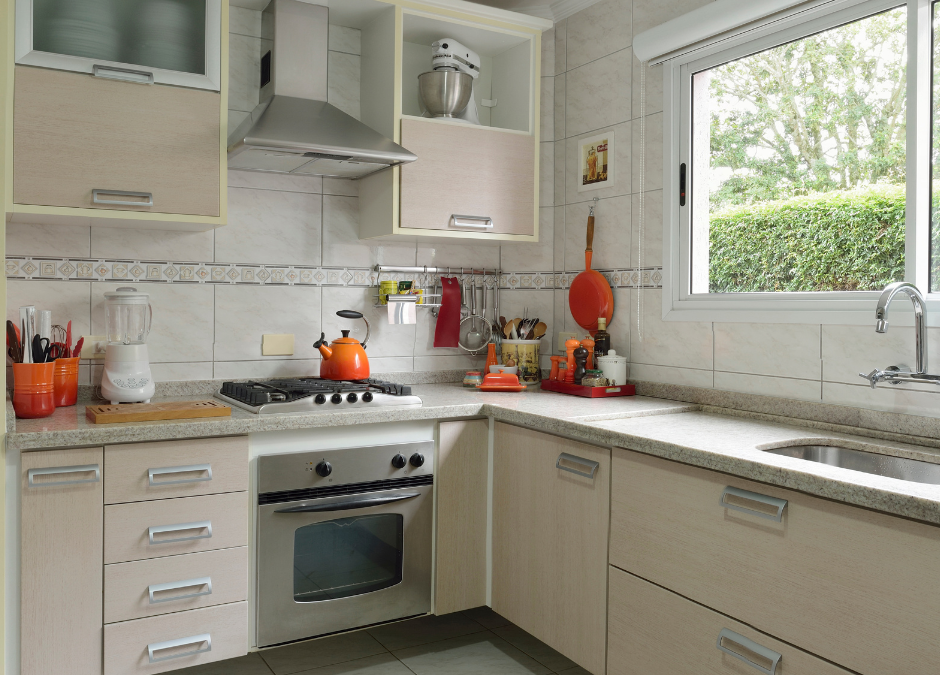
Imagine stepping into a kitchen where everything is in its proper place – neatly arranged shelves, labeled containers, and a clutter-free countertop. The sight alone brings a sense of calm and order, but did you know that a well-organized kitchen is crucial for maintaining healthy eating habits? It may sound surprising, but the way your kitchen is organized can significantly impact the choices you make when it comes to food. From making meal planning easier to ensuring nutritious ingredients are readily available, the benefits of kitchen organization extend far beyond just tidiness. So, why is kitchen organization so crucial for healthy eating habits? Let’s explore the reasons together.
Did you know that opting for unpacking services after your move can save you a significant amount of time and effort? Moving to a new home can be a daunting task, and once you arrive at your destination, the last thing you want to do is spend hours unpacking and organizing your belongings. But fear not, because there is a solution that can make this process much smoother and hassle-free. By enlisting the help of professional unpacking services, you can sit back, relax, and let the experts take care of the unpacking for you. But why exactly should you consider this option? Well, several compelling reasons will make you want to explore this further.

Imagine stepping into a kitchen where everything is in its proper place – neatly arranged shelves, labeled containers, and a clutter-free countertop. The sight alone brings a sense of calm and order, but did you know that a well-organized kitchen is crucial for maintaining healthy eating habits? It may sound surprising, but the way your kitchen is organized can significantly impact the choices you make when it comes to food. From making meal planning easier to ensuring nutritious ingredients are readily available, the benefits of kitchen organization extend far beyond just tidiness. So, why is kitchen organization so crucial for healthy eating habits? Let’s explore the reasons together.
Imagine stepping into a kitchen where everything is in its proper place – neatly arranged shelves, labeled containers, and a clutter-free countertop. The sight alone brings a sense of calm and order, but did you know that a well-organized kitchen is crucial for maintaining healthy eating habits? It may sound surprising, but the way your kitchen is organized can significantly impact the choices you make when it comes to food. From making meal planning easier to ensuring nutritious ingredients are readily available, the benefits of kitchen organization extend far beyond just tidiness. So, why is kitchen organization so crucial for healthy eating habits? Let’s explore the reasons together.